By: Paxton Ruzicka
Published: August 29, 2022

This post contains affiliate links meaning I may earn a commission, at no extra cost to you, if you make a purchase using these links. That being said, I only recommend products I love and trust.
After my decision to cut down on my plastic waste, I was having a hard time finding a plastic-free lip balm option. Then someone suggested to me, “make your own lip balm”. I love a good DIY, but I hadn’t thought of that.
Turns out, this DIY lip balm is super simple AND you actually can make a big batch of it with very few ingredients.
This recipe is so easy, made with natural ingredients, and best of all it’s inexpensive.
These lip balms make for a great gift! Give them away as favors on a special occasion or during the holidays. They’ve been such a hit with my sisters and friends. They’ve been begging me to make more!
It took a little bit to get the consistency just right. Personally, I prefer a thicker consistency. Not greasy. After making my first batch, I decided it was a little too greasy for my liking, so I scooped the mixture out, re-melted it, and added another tablespoon of beeswax.
You can alter the mix as many times you want until you stumble upon the desired consistency.
DIY Lip Balm Ingredients

- Shea butter: 2 TBSP
- Beeswax pellets: 2 TBSP
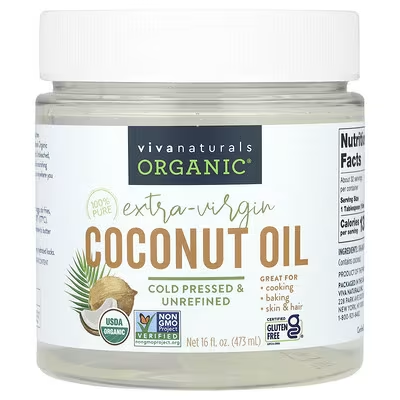
- Coconut oil: 2 TBSP
- 30 drops of your favorite essential oil
Note: I recommend organic ingredients to ensure the purest and highest quality. I have linked the products that I use for this DIY lip balm from Mountain Rose Herbs
Material
- Heat safe glass
- Mixing tool (disposable wooden chopstick or popsicle stick)
- Pot to boil water (double boiler method) or microwave
- Lip balm containers (like these)

Step 1
Simply melt the shea butter, beeswax pellets and coconut oil together. You can do this by placing everything in a bowl over boiling water (this is known as a double boiler method) or in the microwave, stirring every 20-30 seconds until melted into perfect liquid oils.
(I have not used the microwave method so I cannot speak to how the final product it will turnout)
If you don’t have shea butter on hand or prefer to use cocoa butter, be my guest! These two ingredients are considered interchangeable.
According to Curology, cocoa butter helps fight dry lips with its ability to lock in moisture. On the other hand, Shea butter is known to soothe cracked and irritated skin because of its anti-inflammatory properties.
I opt for the shea butter because of my tendency to have dry skin. Especially in the winter.
Additionally, candelilla wax can be substituted for beeswax if you are vegan or prefer not to use beeswax.
Step 2
Once melted, remove the lip balm mixture from the heat and allow a few moments to cool. You want it to be a little warmer than room temperature. But don’t allow the mixture to congeal.
Step 3
Next, add a few drops of essential oil, like 30 or so, and stir.
(Tip: I use a disposal stirring tool, like a wooden chopstick or popsicle stick. This makes for easy cleanup.)
Essential oils are something you definitely want to look into because there are a lot of brands out there today adding fillers and a mess of other ingredients and then calling them “pure”.
I know and trust Mountain Rose Herbs with my essential oils because of their reputation and transparency. These are some of the highest quality oils you can buy and are 100% USDA organic.
In this recipe, I use peppermint oil and lime oil for a wonderful combination. But use your favorite essential oils for the best personalized results.
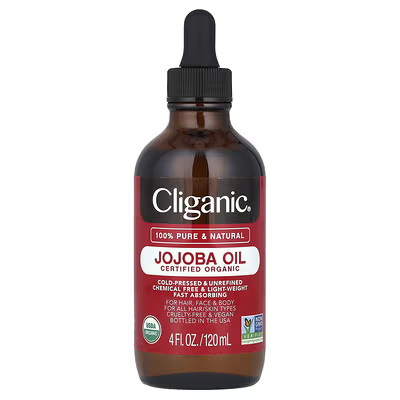
Remember to always use carrier oils with the application of essential oils. Something like olive oil, sweet almond oil, jojoba oil, castor oil, sunflower oil, avocado oil or vitamin e oil. In this case the carrier oil is the Shea butter (or cocoa butter).
Step 4
While the mixture is still in a liquid form, fill your lip balm tubes or small tins (link here) and allow to cool. This recipe will make over 6 lip balm tins so adjust accordingly.
Give your newly made DIY lip balm a chance to set in a cool place. You can even pop them in the freezer for quicker results.

I’ve fallen in love with this recipe and couldn’t be more thrilled with this plastic-free alternative.
Feel confident knowing you made an eco-friendly decision that will ensure your lips are never dry again.


